Introduction:
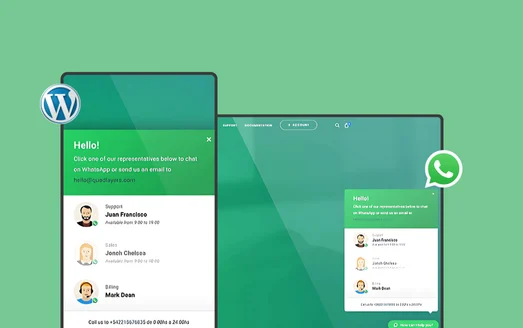
Are you looking for a seamless way to interact with your WordPress Website visitors? With WhatsApp’s ever-growing popularity, adding a WhatsApp chat button to your website can be revolutionary. Think of directing the visitors in a real-time conversation with a human being that would provide immediate help and bridge the gap between the audience while enhancing greater engagement and loyalty.
This ultimate guide will show you how to easily integrate the WhatsApp chat widget into your WordPress website through the powerful Social Chat Plugin. Whether you are a developer, marketer, or businessman, we have you covered.
We will also provide you with all the requisite ins and outs in installing and configuring the WhatsApp chat button so that you can fully utilize its features and functionalities, which will enhance your customer satisfaction through increased engagement and speedier response time.
Why Add a WhatsApp Chat Widget to Your WordPress Website?
Integrating the Social Chat Plugin for WhatsApp on your WordPress website is a simple yet powerful way to enhance communication, improve customer satisfaction, and increase operational efficiency. Here’s how it can benefit your business
1.Automated Responses to Common Queries
The WhatsApp Chat button helps you respond instantly to frequently asked questions. This saves your team time and allows them to focus on more personalized support or complex tasks, making your workflow smoother and more efficient
2. Enhanced Customer Satisfaction and Loyalty
When customers need help, they want it fast. The chat button lets them connect with you instantly, giving them the support they need without delays. This quick and reliable service keeps them happy and builds trust, encouraging them to return in the future.
3. Drive Referrals and Word-of-Mouth Marketing
When customers have had a good interaction facilitated by the WhatsApp chat button, they tend to encourage others to have a good experience too. This word-of-mouth marketing facilitates more visits to your WordPress website, increasing brand exposure and attracting new customers.
By adding this button to your WordPress website, you can enhance customer engagement, streamline support processes, and build stronger relationships with your audience.
The Ultimate Guide to Integrating WhatsApp Chatbot on Your WordPress Website
Let’s dive into setting up the Social Chat plugin on your WordPress website through these easy steps:
Step1: Install the Social Chat Plugin:
- First, go to your WordPress Dashboard and click on Plugins in the side menu bar.
- Next, select Add New Plugin.

Screenshot 1: Add New Plugin in the Plugin Section
- Then, go to the Search Bar, and type Social Chat.
- Install and activate the plugin.
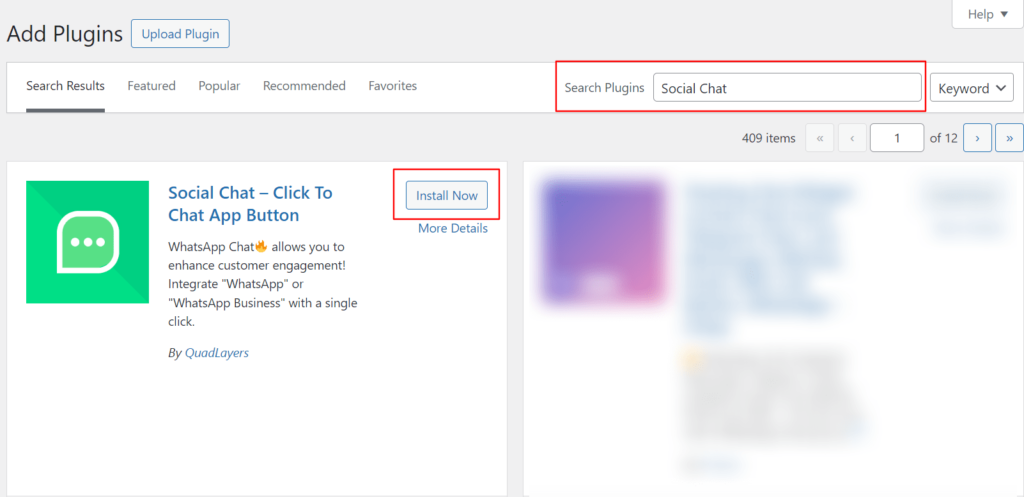
Screenshot 2: Searching for the Social Chat Plugin
- After activating the plugin, select the Social Chat Plugin option from the side menu bar. The Welcome Dashboard will appear as shown in the Screenshot 3.
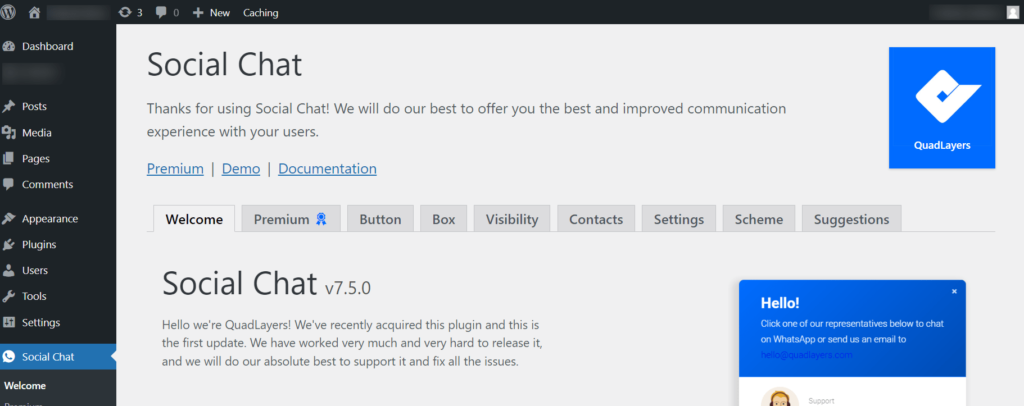
Screenshot 3: Welcome Dashboard of the Social Chat Plugin
Step 2: Customizing the Social Chat Plugin
In this segment, we will focus on personalizing the WhatsApp ChatBot Button in which we will configure the features like adjusting the position, color, response text, and visibility of the WhatsApp button.
Button Tab
In this section, we will look at customizing some appearance parameters and placement of the chat button. This includes the contact box feature for multiple clients online, adjusting the position of the chat button, layout, and display text.
- First, on the Social Chat dashboard click on the Button tab as shown in the Screenshot 4.
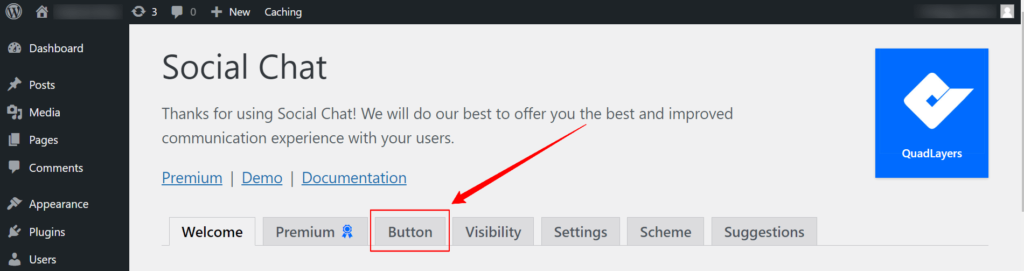
Screenshot 4: Button Section of the Social Chat Plugin
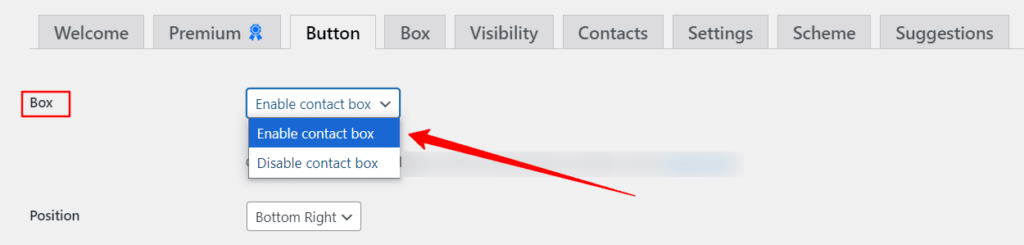
Screenshot 5: Contact Box Settings for the Social Chat WhatsApp Button
- In the Box option, select the Enable Contact Box option.
- Next, select where you would like to place the WhatsApp icon in the Position option as shown in Screenshot 6. Here, I have chosen the Bottom Right corner.
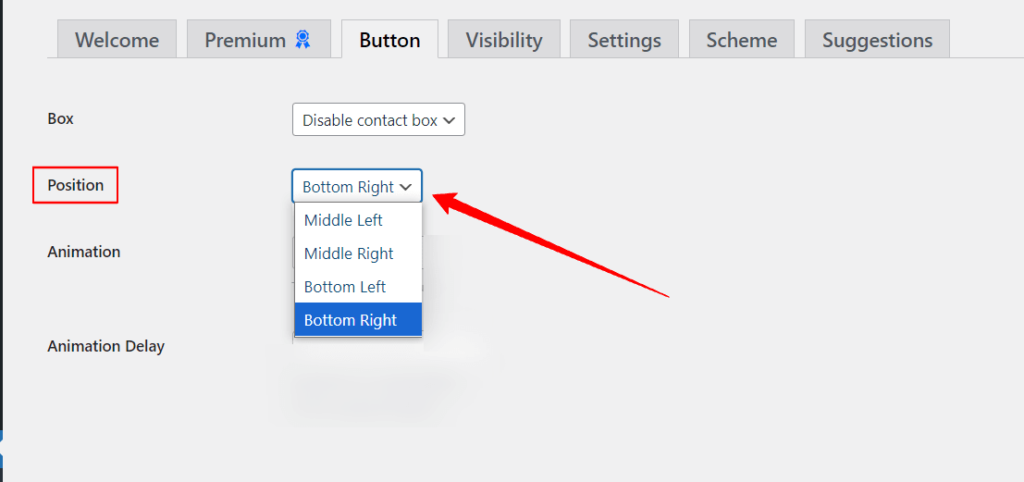
Screenshot 6: Positioning of the Social Chat WhatsApp Button
- Then, select the type of layout you want for the chat. Here, I have chosen the Bubble option.
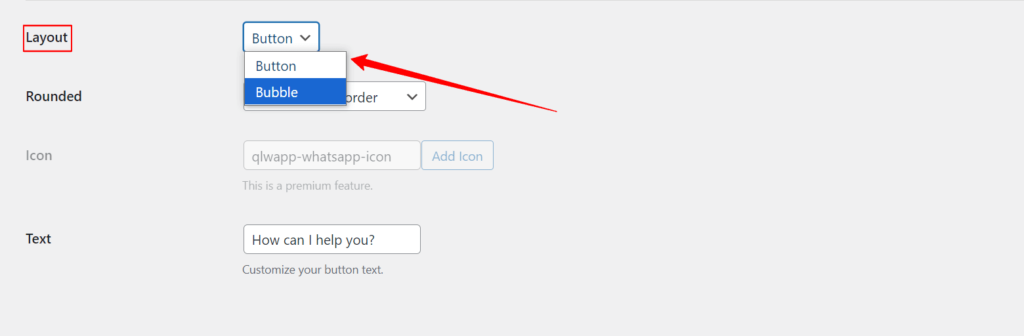
Screenshot 7: Layout Settings of Social Chat WhatsApp Button
- Afterward, select the options for the rounder border of the WhatsApp icon and provide the text that you want to showcase in the chat window. Here, I have chosen the Add Rounded Border option. Finally, save the settings.
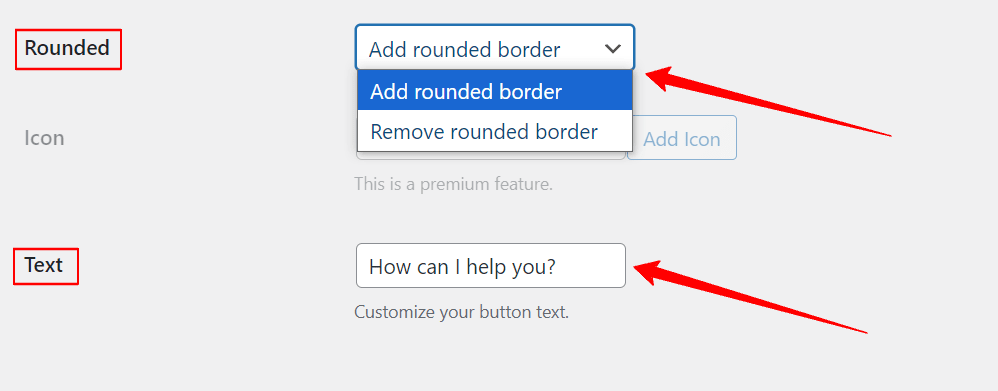
Screenshot 8: Rounding and Text Options for the Social Chat WhatsApp Button
Box Tab
In the Box settings of the Social Chat Plugin, we will look at how you can personalize the header, footer, and response message for various contacts, providing a smooth and engaging experience for visitors to your website.
- First, click the Box Button on the Social Chat dashboard as shown in Screenshot 9.
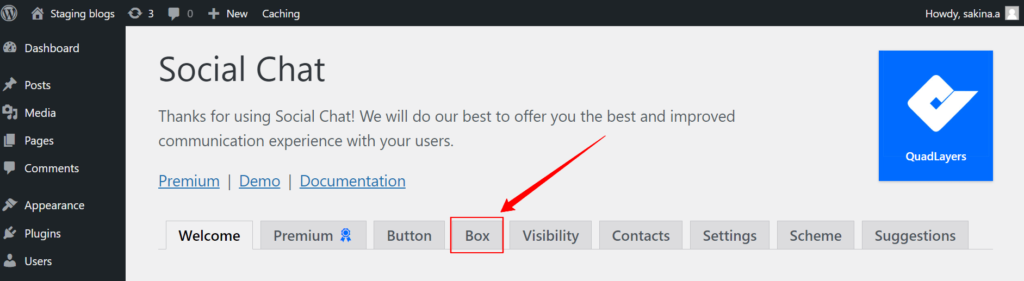
Screenshot 9: Box Settings for the Social Chat WhatsApp Button
- In the Image option, Enable lazy load. This ensures that the plugin is readily available for the visitors on the website. Then, set up the Header text that will be displayed for multiple contacts input.
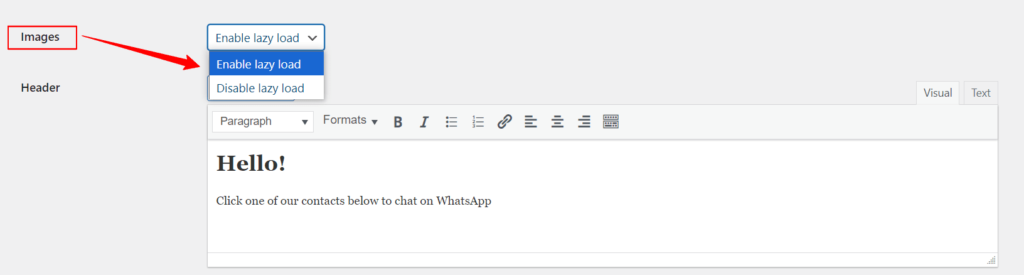
Screenshot 10: Enable Lazy Load for the Social Chat WhatsApp Button
- Similarly, input the text for the Footer and provide a message for response. Finally, save the settings.
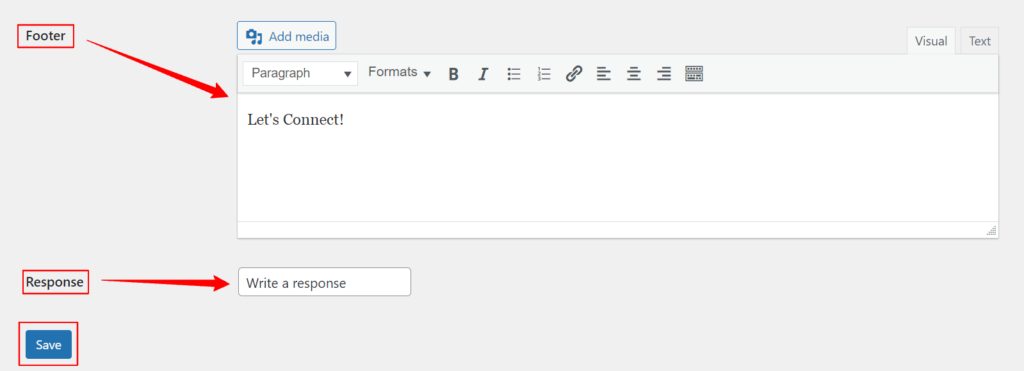
Screenshot 11: Footer and Response Settings for Social Chat WhatsApp Button on the Website
Visibility Tab
The Visibility settings in the Social Chat dashboard let you choose which devices display the plugin and define target options, ensuring optimal user engagement across platforms.
- Click on the Visibility button as shown in Screenshot 12.
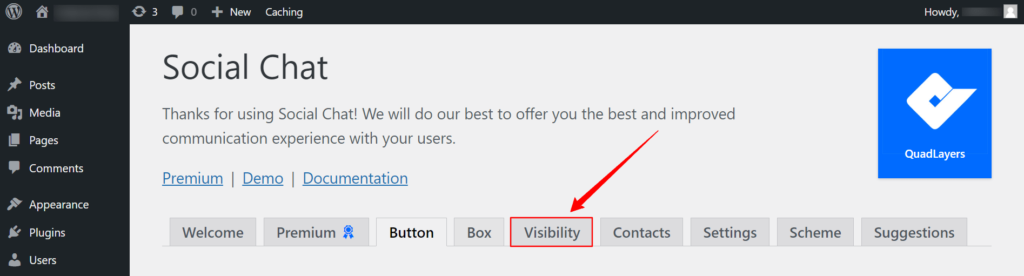
Screenshot 12: Visibility Section on the Social Chat Dashboard
- In the Devices section, choose where you’d like the Social Chat Plugin to appear—on desktop, mobile, or both. By default, it’s set to Show on all Devices, ensuring the best experience for your users.
Screenshot 13: Device Settings for the Social Chat WhatsApp Icon
- Next, choose the Target option from the settings to decide where the Social Chat Plugin should be displayed, such as the homepage, all pages, blog posts, or search results, as shown in Screenshot 14. This helps make sure it’s visible to the right audience. Save your settings to apply the changes.
Screenshot 14: Target options for the Social Chat WhatsApp Icon
Contact Tab
The Contact settings in the Social Chat dashboard allow editing default contacts and adding details such as names, roles, and availability. You can set up multiple contacts (a premium feature), ensuring visitors can easily reach the right person online for support or inquiries.
- Click on the Contact button in the Social Chat dashboard as shown in Screenshot 15.
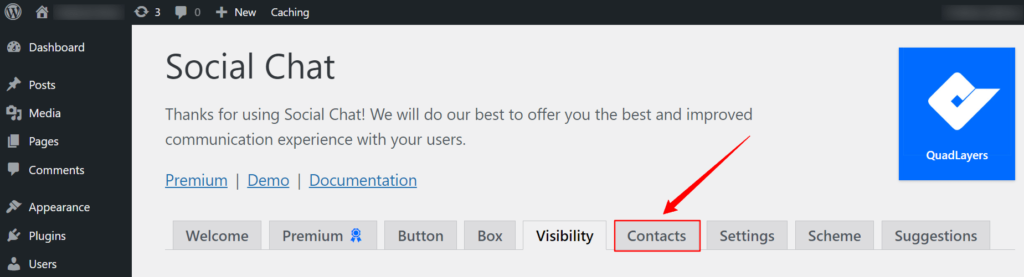
Screenshot 15: Contact button on the Social Chat Dashboard
- Select the Edit option in the Default Contact tab.
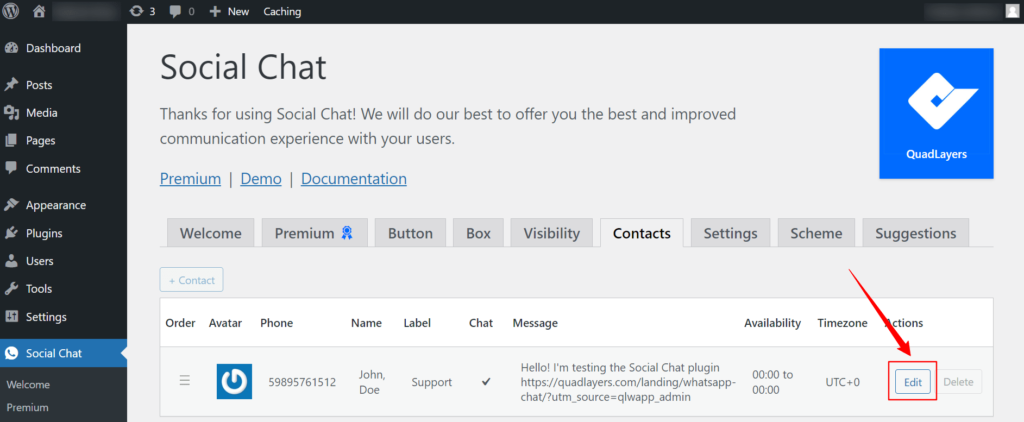
Screenshot 16: Editing the default contact
- The Edit Contact tab will appear. Provide all the details shown.
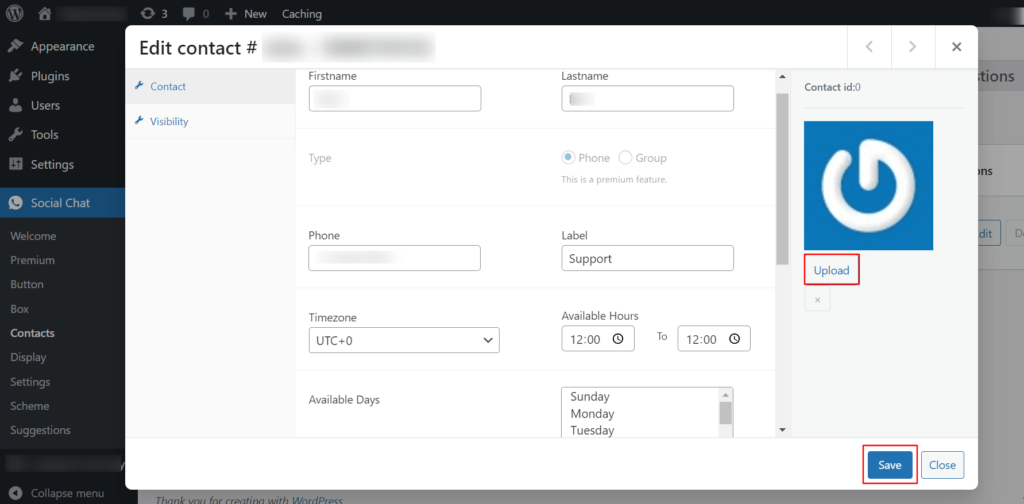
Screenshot 17: Edit contact tab
Scheme Section:
The Scheme settings in the Social Chat dashboard provide customization options such as the appearance of the chat button, including font, font size, background color, and text color, to match your website’s design.
- Click, on the Scheme button on the Social Chat dashboard as shown in Screenshot 18.
- Select the desired Font and adjust the font size.
- Choose the Background color and Text color for the chat button.
- Finally, save the settings to apply your customizations.
Screenshot 18: Scheme Settings for the Social Chat Whatsapp Icon
Step 3: Testing the Social Chat WhatsApp Button:
Once you’ve completed the settings for the WhatsApp button, it’s time to test it to ensure it works perfectly and looks great on your website.
- Open your website to view the Live Social Chat button.
- Check its design for font, color, and placement accuracy.
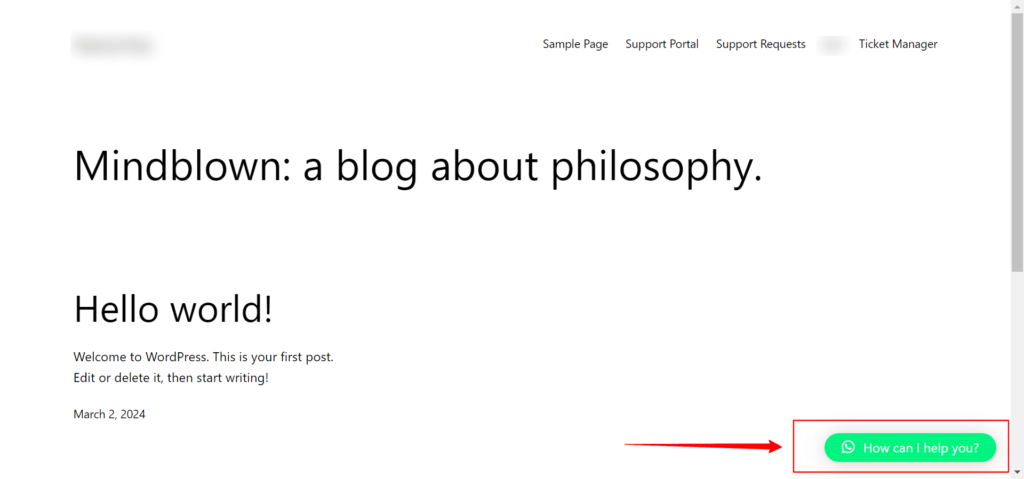
Screenshot 19: Social Chat WhatsApp Button Live on the Website
- Click on the WhatsApp Button to view available Contacts as shown in Screenshot 20.

Screenshot 20: Contacts Available in the WhatsApp Chatbot Button
- Then, click on the Contact button to confirm it redirects to the correct Web WhatsApp on your desktop or Whatsapp chat.
- Test its visibility and functionality across desktop, tablet, and mobile devices.
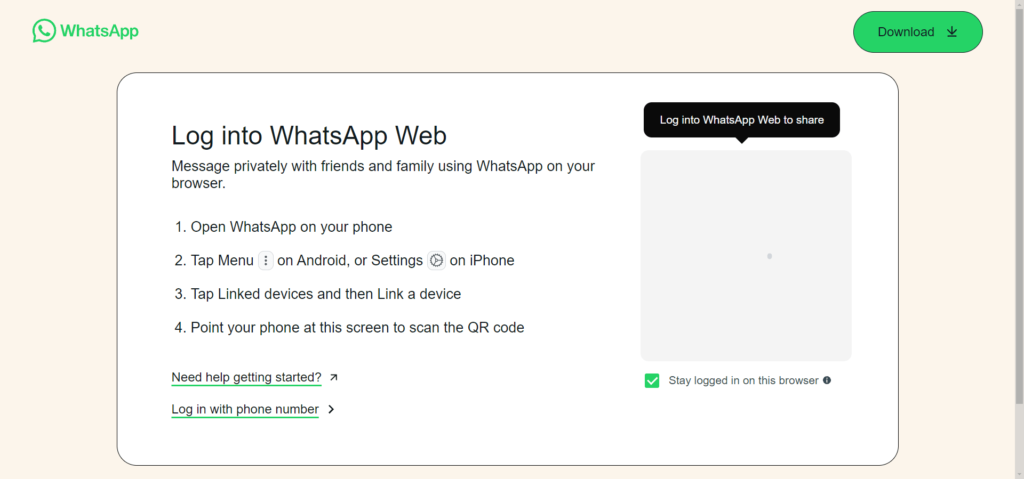
Screenshot 21: Contact Button Redirects to Web WhatsApp
- Make adjustments in the dashboard if necessary.
Conclusion
In this ultimate guide, we have covered the key steps for adding a WhatsApp chat button to your WordPress website using the Social Chat plugin. We have explored what it is, why it’s beneficial, and how to set it up effectively. We also highlighted the advantages of boosting customer engagement and satisfaction, offering easy steps to integrate and customize the button to match your brand.
In conclusion, integrating a WhatsApp chat button with the Social Chat plugin is a simple yet powerful way to enhance your website. Monitor its performance, gather feedback, and make adjustments as necessary. This small feature can build stronger connections, increase loyalty, and contribute to the long-term growth of your business.
Published on Jan 15, 2025 | Updated on Jan 16, 2026
Author

Sakina Attarwala
Author
|
Reviewer

Abhijeet Bendre
Author
|